Manage Instances
This guide covers how to manage your service instances after provisioning.
View your instances
Navigate to the Instances section to see all service instances in your current organization.
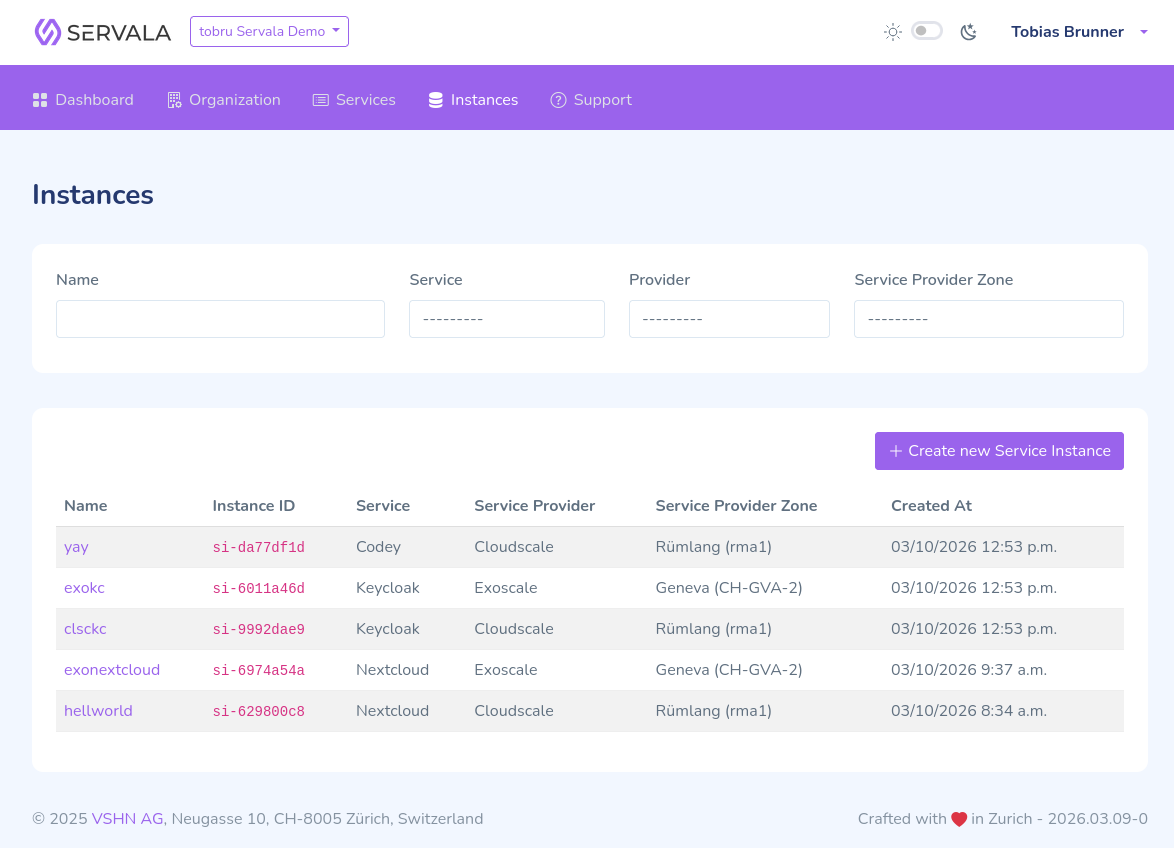
Click on any instance to see its detail page with configuration, status, and connection credentials.
Update an instance
- Navigate to the instance detail page.
- Click Edit or Update.
- Modify the configuration parameters as needed.
- Click Save to apply the changes.
Warning
Some parameters may not be changeable after creation. Check the service-specific documentation for details on which parameters can be updated.
Pause an instance
Pausing an instance temporarily stops it without deleting it. This can be useful to save costs on non-production instances.
- Navigate to the instance detail page.
- Click Pause.
- Confirm the action.
To resume a paused instance, click Resume on the instance detail page.
Delete an instance
- Navigate to the instance detail page.
- Click Delete.
- Confirm the deletion.
Danger
Deleting an instance is permanent. All data associated with the instance will be lost. Make sure you have backups of any important data before deleting.
View connection credentials
Connection credentials (hostname, port, username, password) are available on the instance detail page once the instance is fully provisioned. Use these credentials to connect your applications to the service.